Imagine this: You’re standing in your living room, surrounded by packed boxes. You look at the walls—family photos, framed art, canvas paintings. Now you’re wondering how to pack pictures for moving a house without breaking them?”
The glass could crack. The frames might get scratched. Even worse, the artwork could get ruined.
Sounds stressful, right?
But don’t worry. We’ve got you covered. We’ll show you exactly how to pack your pictures so they stay safe.
Though, here’s the brief for you: To pack pictures, you have to —
- wrap pictures with paper and bubble wrap,
- protect the corners,
- place them in a sturdy box
- and label it as fragile.
Let’s get into the details of this topic.
Key Takeaways:
- Sort Your Pictures: Group them by size for easy packing.
- Protect the Glass: Use tape in an “X” shape to prevent shattering.
- Wrap Carefully: Use packing paper, bubble wrap, and corner protectors.
- Add Support: Place cardboard on both sides to avoid bending.
- Use Sturdy Boxes: Choose flat picture boxes and fill gaps with padding.
- Label Clearly: Mark boxes as “FRAGILE” and “This Side Up” for safe handling.
|
Why is Proper Packing Important?
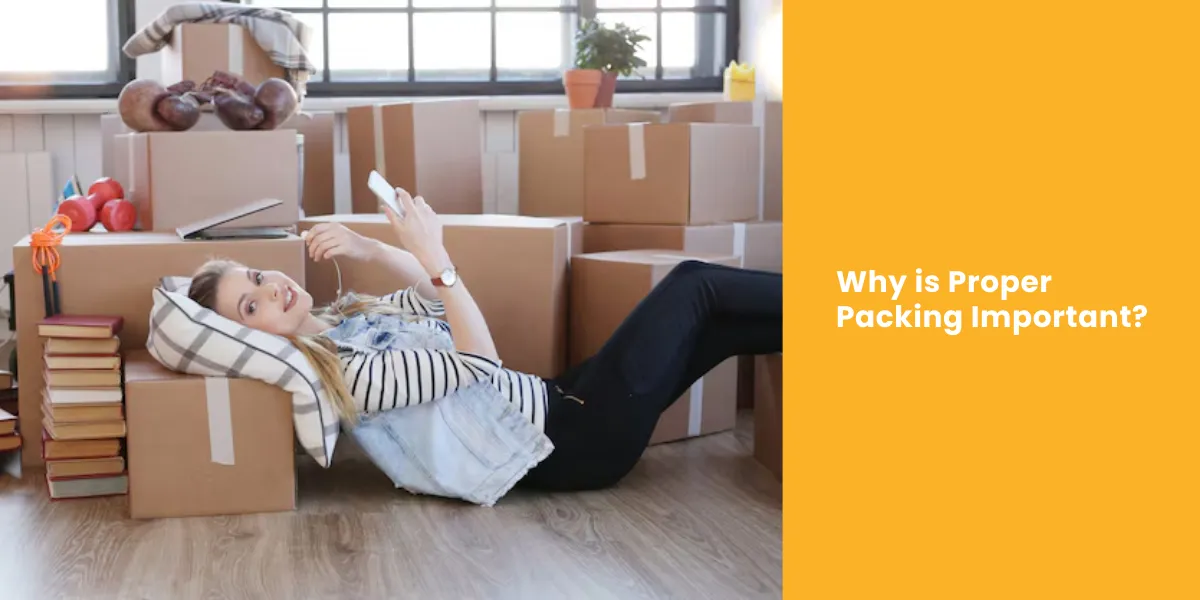
- Prevents Glass Breakage – Glass shatters easily during moves.
- Avoids Scratches – Picture surfaces can get scratched if not wrapped right.
- Protects Artwork – Paintings, photos, and canvases are delicate.
- Keeps Frames Intact – Wooden or metal frames can chip or bend.
✅ Packing Checklist
Here’s what you’ll need before you start:
| Item |
Purpose |
| Bubble Wrap |
Protects against shocks and drops |
| Packing Paper |
Prevents scratches |
| Cardboard Sheets |
Adds support and prevents bending |
| Strong Packing Tape |
Holds everything together |
| Picture Boxes (Flat Boxes) |
Perfect size for framed art |
| Corner Protectors |
Protects frame edges |
| Marker & Fragile Labels |
For easy identification |
Step-by-Step Guide: How to Pack Pictures Like a Pro
So, what is the best way to pack pictures when moving?
Check out the below techniques to pack pictures properly for moving a house.
Step 1: Sort Your Pictures
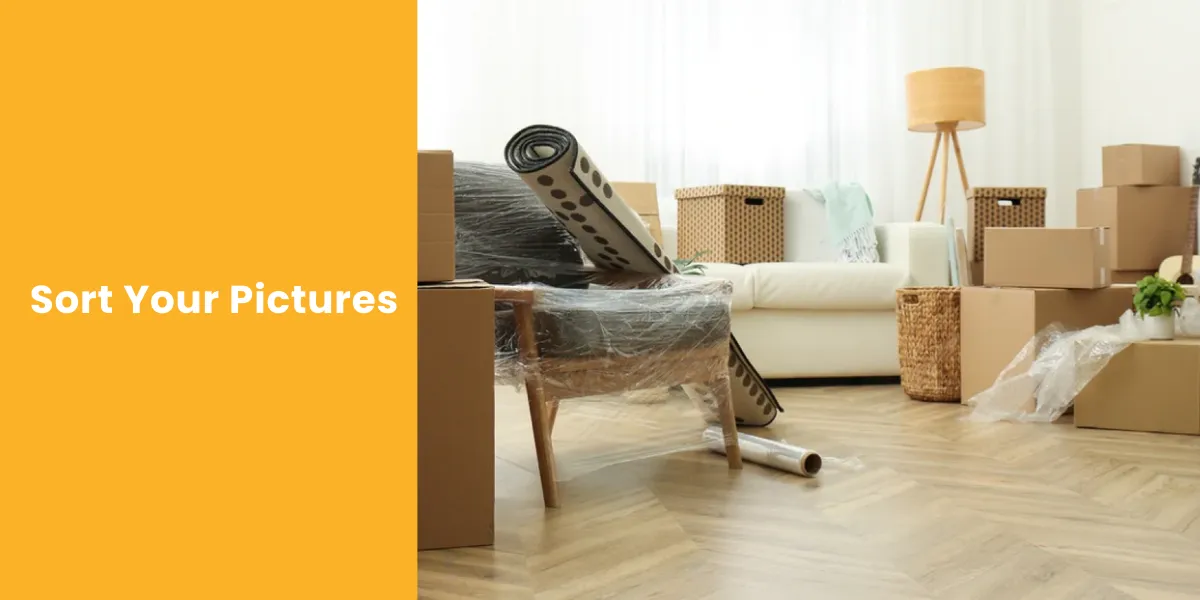
- Gather all your pictures in one place.
- Group them by size: small, medium, large.
- Fragile items? Set them aside for extra care.
Want to learn how to pack fragile items? Check out this insightful blog now!
Step 2: Clean the Glass & Frame
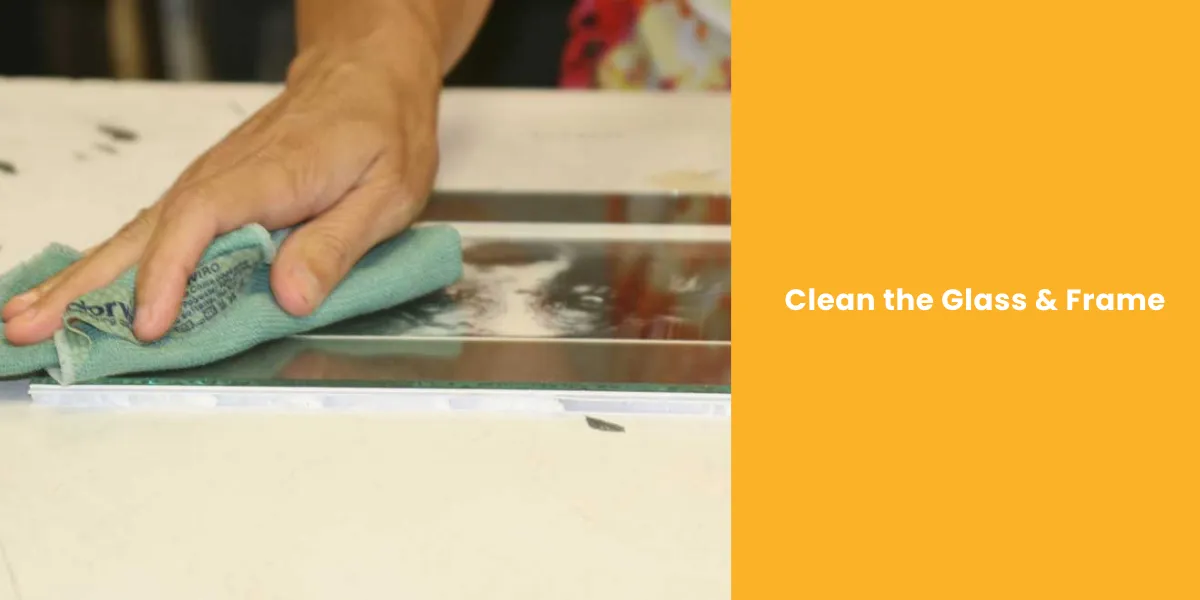
- Wipe the glass gently with a microfiber cloth.
- Clean frames to remove dust.
Step 3: Add Tape to the Glass
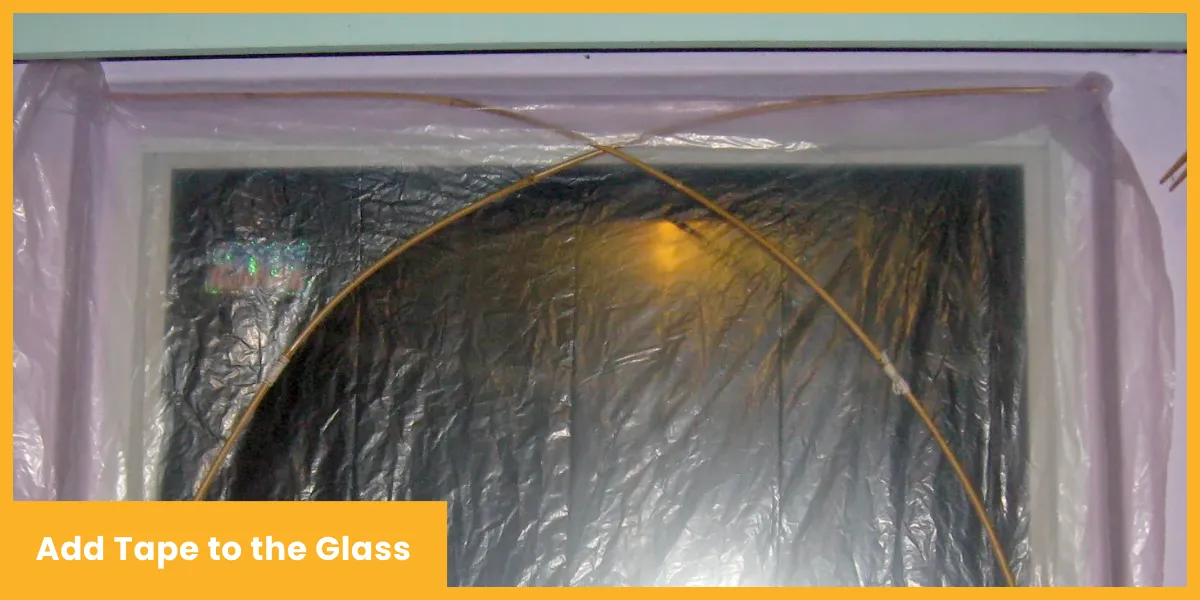
- Place the masking tape in an “X” shape across the glass.
- This stops glass from shattering everywhere if it breaks.
Step 4: Wrap Each Picture
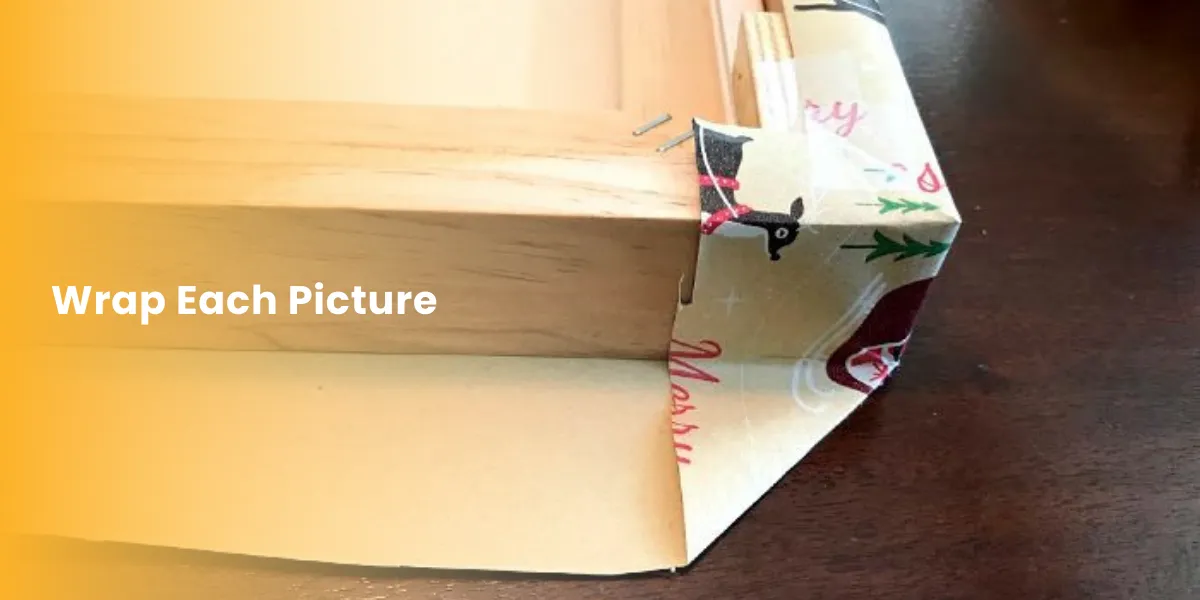
- Lay packing paper flat.
- Place the picture face-down on the paper.
- Wrap it like a gift. Tape the paper to secure it.
- For extra safety, add a layer of bubble wrap.
Step 5: Protect the Corners
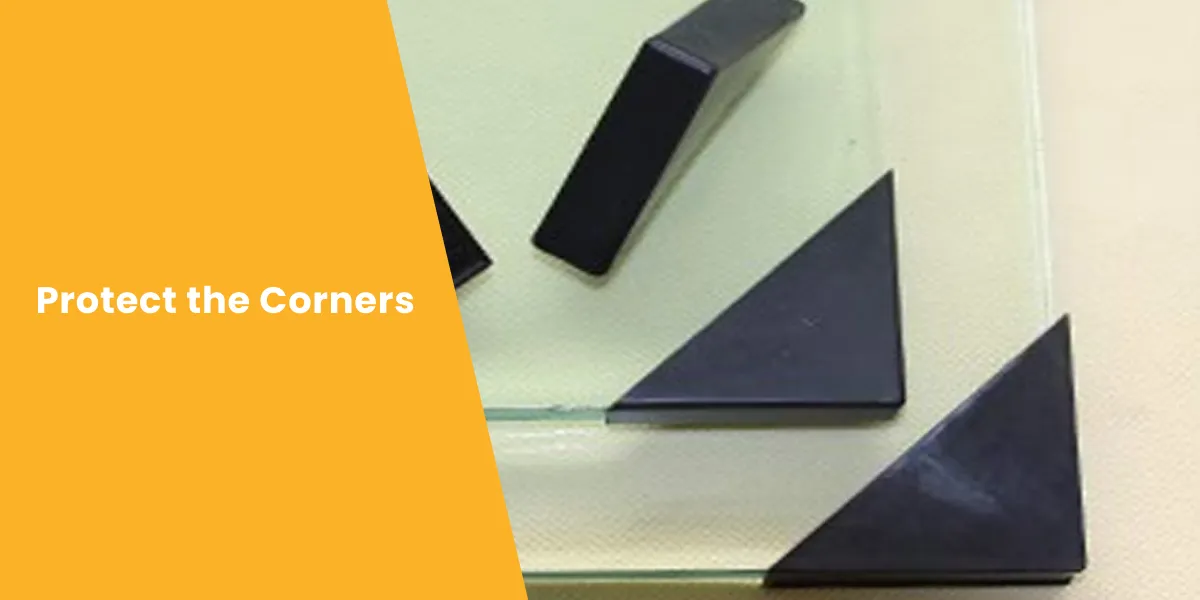
- Use foam corner protectors.
- No corner protectors? Use folded cardboard.
- Secure with tape.
Step 6: Add Cardboard for Support

- Cut two pieces of cardboard slightly bigger than your picture.
- Place one in front and one at the back.
- Tape them together to create a strong shield.
Step 7: Box It Up
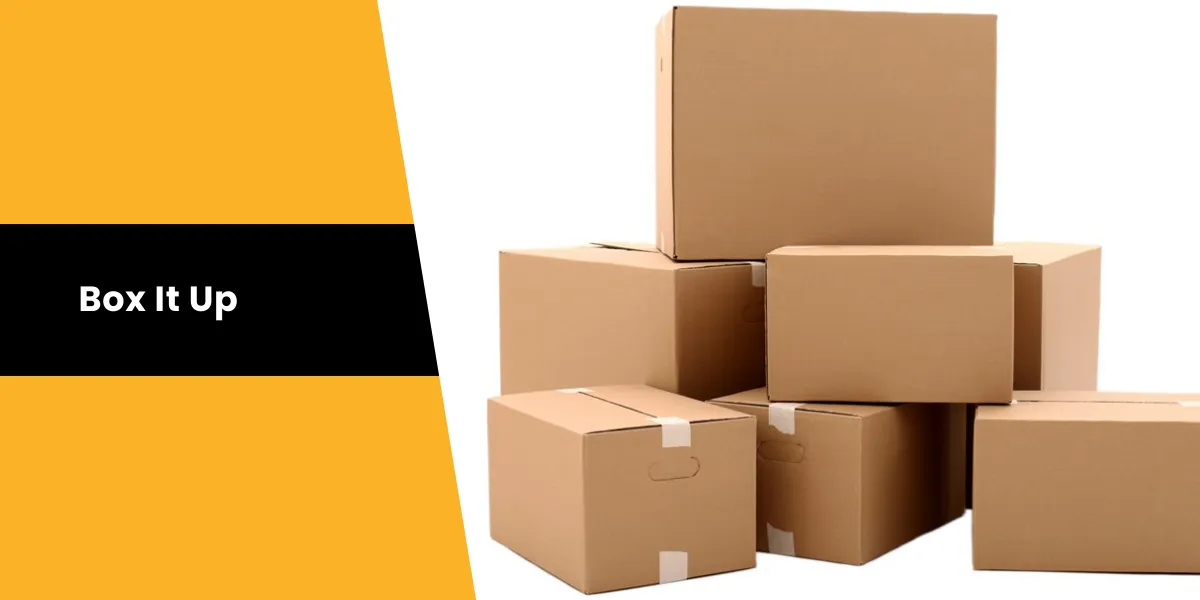
- Use a picture box (flat box) that fits your artwork.
- Place the wrapped picture inside.
- Fill empty spaces with crumpled paper or bubble wrap.
- Seal the box tightly with strong tape.
Step 8: Label Everything
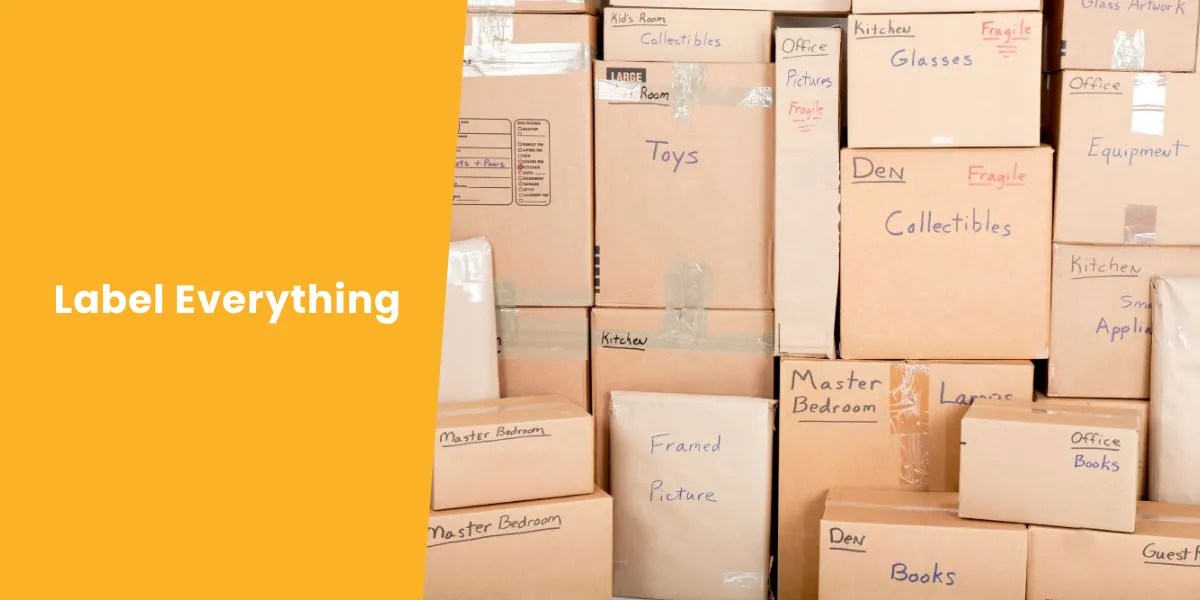
- Write “FRAGILE” in big, bold letters.
- Mark “This Side Up” with arrows.
- Add details like “Glass” or “Artwork” if needed.
Also, interested in learning how to pack glasses and plates for moving house? Visit these informative blogs now!
📊 Packing Pictures: Quick Reference Table
| Picture Type |
Packing Material |
Box Type |
| Small Framed Photos |
Paper + Bubble Wrap |
Small Flat Box |
| Large Glass Frames |
Bubble Wrap + Cardboard |
Picture Box |
| Canvas Paintings |
Acid-Free Paper + Foam Board |
Mirror Box or Crate |
| Vintage Art |
Custom Crate + Padding |
Wooden Crate |
💡 Expert Packing Tips & Tricks
Here are some smart tricks to keep your pictures safe during the move.
1. Pack Pictures Vertically
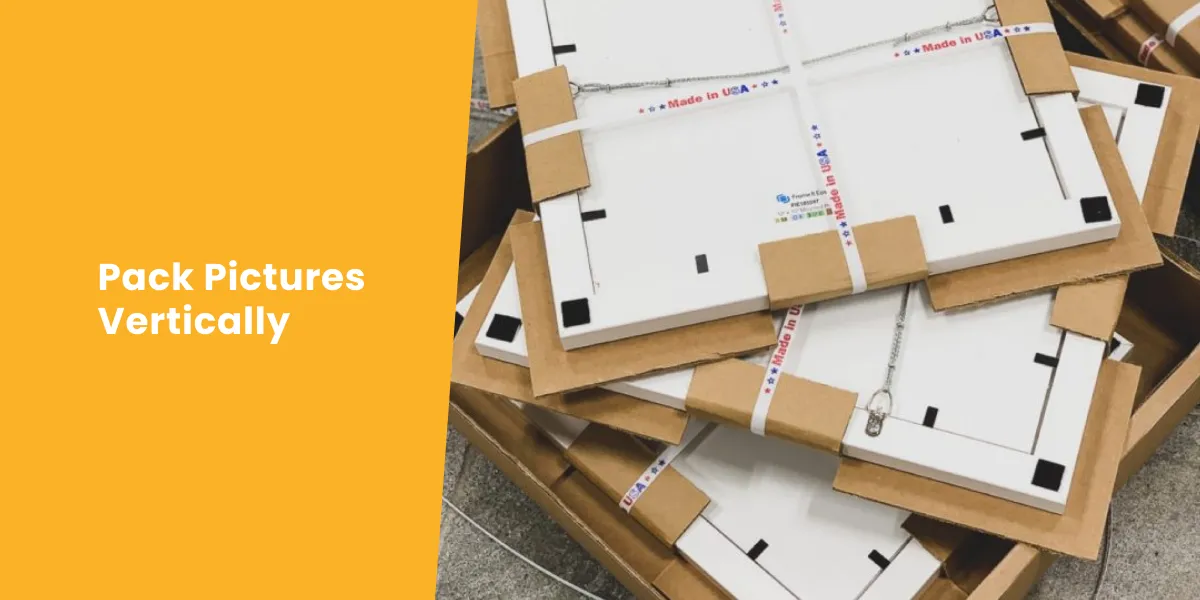
- Why? It’s safer!
- Think of how you pack plates. You stand them upright because it reduces pressure.
- Do the same with your pictures. Standing them vertically helps avoid cracks and breaks.
- When laid flat, heavy things might press down and damage them.
2. Double-Box Fragile Items

- Got a really fragile picture? Double-box it.
- First, pack the picture in a box as usual.
- Then, put that box inside a slightly bigger box.
- Fill the space between the two boxes with soft padding like paper, foam, or bubble wrap.
- This extra layer acts like a shock absorber if the box gets bumped.
3. Use Towels for Extra Cushion
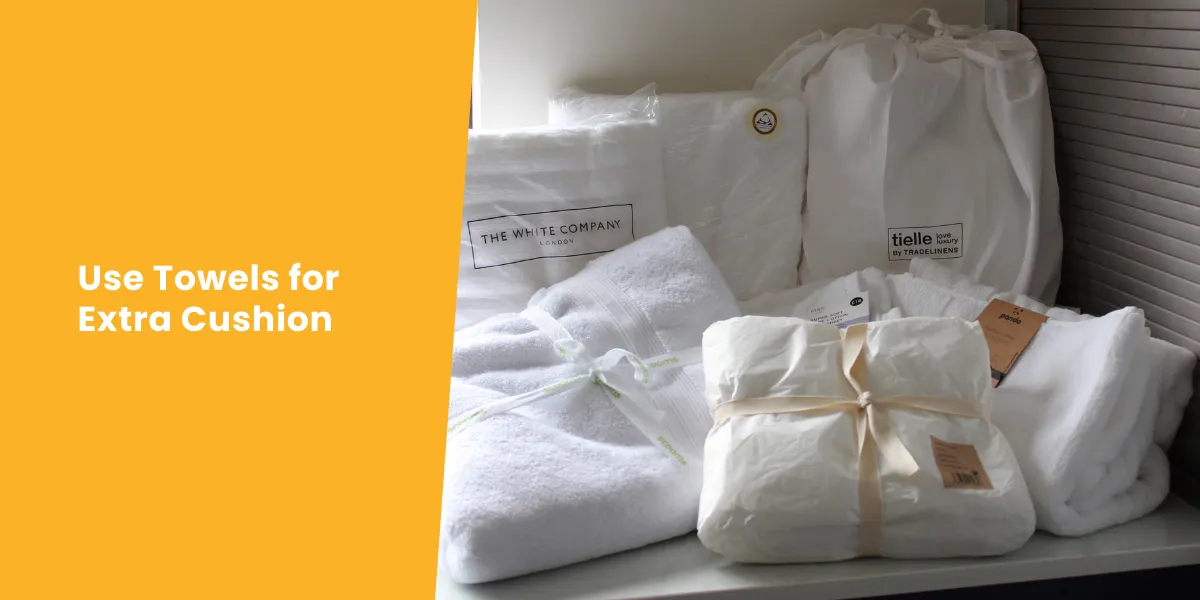
- Out of bubble wrap? No problem!
- Use soft towels, blankets, or even old clothes.
- Wrap the picture tightly, making sure the corners are well-covered.
- Place extra towels around the picture inside the box for more padding.
- It’s budget-friendly and eco-friendly too!
4. Don’t Overpack
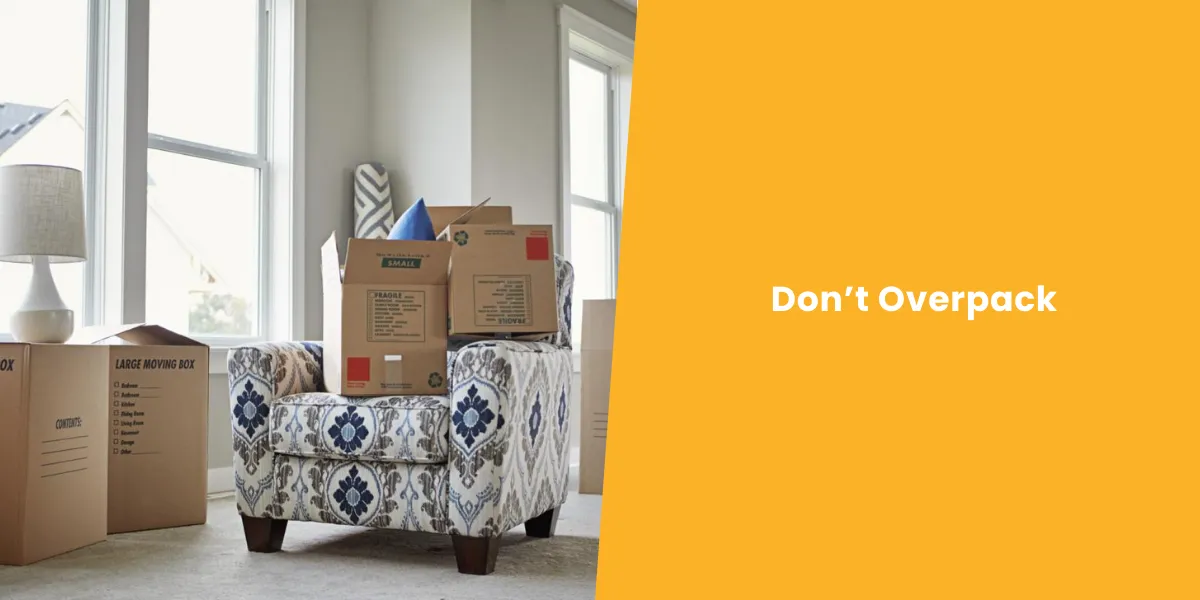
- Less is more when packing fragile items.
- Don’t squeeze too many pictures into one box.
- Overpacking adds pressure, which can cause glass to crack or frames to warp.
- Leave a little space around each picture and fill the gaps with soft padding.
5. Pack Similar Sizes Together
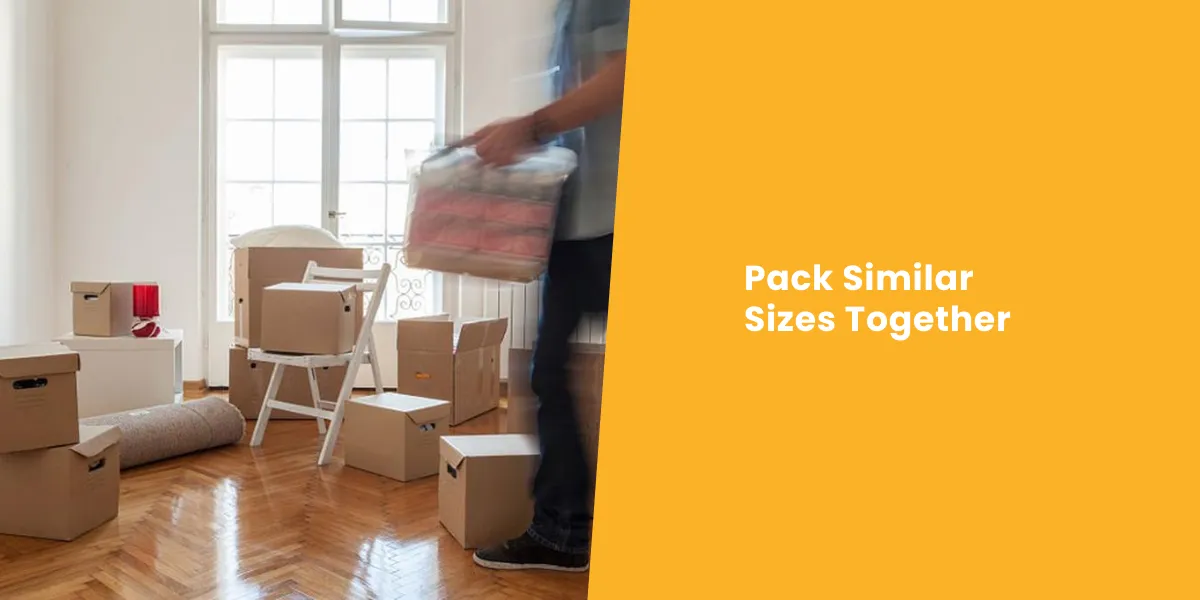
- Put pictures of the same size in one box.
- This keeps the box balanced and prevents shifting during the move.
- Place the heaviest pictures at the bottom and the lighter ones on top.
- Add padding between each picture to avoid scratches.
🚩 Common Mistakes to Avoid
| Mistake |
Why It’s a Problem |
| No Bubble Wrap |
Increases risk of glass breakage |
| Laying Pictures Flat |
Adds pressure, causes cracks |
| Using Old, Weak Boxes |
Boxes can collapse under weight |
| Not Labeling “Fragile” |
Movers may handle roughly |
| Skipping Corner Protectors |
Frame corners easily get damaged |
Special Tips for Large Artwork & Canvas Paintings
For Canvases:
- Wrap with acid-free paper (prevents yellowing).
- Add foam sheets for extra protection.
For Oversized Frames:
- Use mirror boxes or build a custom wooden crate.
- Secure with foam boards and strong tape.
For High-Value Art:
- Consider professional art movers.
If you somehow want to know “How do I pack up a house to move with Easy Way Removals,” you can visit this insightful blog now!
How to Load Pictures into the Moving Truck
- Keep Upright: Place pictures vertically.
- Secure Tight: Use straps to prevent sliding.
- Avoid Heavy Items on Top: Never stack heavy boxes over pictures.
- Cushion Around: Add blankets or soft items around boxes.
Bonus: How Long Does It Take to Pack Pictures?
| No. of Pictures |
Estimated Time |
| 1–5 |
30 minutes |
| 6–10 |
1 hour |
| 11–20 |
2 hours |
| 20+ |
3+ hours |
**Tip: If you’re short on time, pack fragile items first!
How Do Movers Pack Paintings, and When Should You Take Their Help?
Let’s check out the below process.
How Movers Pack Paintings
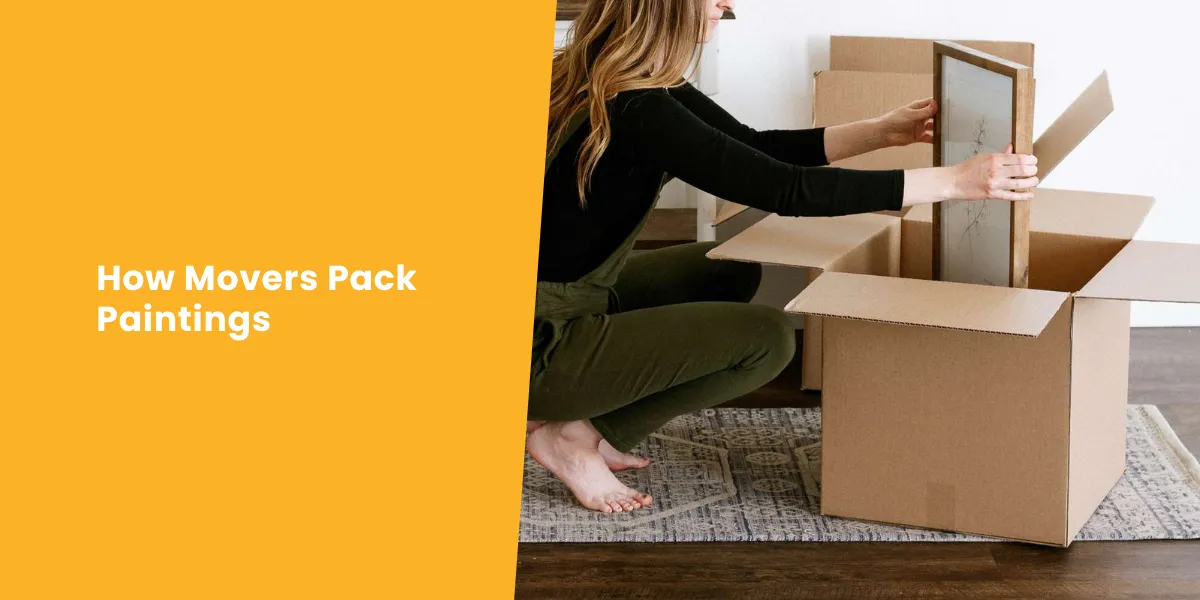
1. They Wrap It Carefully
- Movers use acid-free paper for delicate artwork.
- They wrap the painting in bubble wrap for extra protection.
2. They Protect the Corners
- They add foam or cardboard corner protectors.
- This prevents damage to the frame edges.
3. They Use Custom Boxes
- They pick the right-sized picture boxes.
- For valuable art, they may use wooden crates.
4. They Add Padding Inside the Box
- Movers place soft padding or foam inside the box.
- This keeps the painting from moving during transport.
5. They Label It Properly
- Every box is marked “FRAGILE” and “This Side Up.”
- This ensures careful handling.
When Should You Take Their Help?
1. If You Have Expensive or Large Paintings
- Valuable artwork needs special care.
- Movers use professional packing to prevent damage.
2. If You Don’t Have the Right Packing Materials
- Movers bring proper boxes, padding, and crates.
- This keeps your paintings safe.
3. If You’re Moving Long Distance
- A long journey means more risk of damage.
- Movers pack paintings securely for safe transport.
4. If You Have Too Many Paintings to Pack
- Packing multiple paintings takes time and effort.
- Movers handle everything quickly and safely.
5. If You’re Not Confident in Packing
- Not sure how to protect your paintings?
- Let movers do it professionally.
If you take our Easy Man and Van Removal Service in London, we not only handle the transportation but also provide careful packing and unpacking.
Our team ensures everything is packed securely, using blankets and belts for added protection. When we arrive at your new location, we carefully unpack and set up your items, making the process as smooth as possible!
Plus, Need moving supplies? Get moving kits, strong boxes, bubble wrap, packing tape, and more with Next Day Delivery and FREE delivery on orders over £60.
Our moving kits are perfect for any UK-based move, big or small!
Wrapping Up
So, coming to this point, we can hope that you now have a pretty good idea of how to pack pictures for moving a house.
Packing pictures isn’t as hard as it seems. Just follow these steps, take your time, and handle with care. Your memories, art, and frames will reach your new home safely.
Got any questions? Ask away! 😊
Besides, do you want to learn the process of packing electronics for moving? No worries! Visit this insightful guide now!